Contents
The Story of Sigle
To me, the best way to learn about a topic has always been to build on it. Back in 2018, I had wanted to go down the blockchain rabbit hole for a while. Web2 companies make money by gating and selling user information. In contrast, Web3 brings privacy, security and open data, which is a game changer for the creator economy.
At the end of that year, I decided to take the leap and build a decentralized blogging platform. Together with Quentin, my co-founder, we started Sigle as a side project, with both of us continuing to work in our main areas of expertise – software development for me, graphic design for Quentin.
Sigle is an open-source writing platform for Web3 content creators that gives them a powerful editor, a great UI, and the tools they need to build their community, grow their brand, and make their Web3 stories come to life.
At the time, there were fewer options to build than today. Stacks (then called Blockstack) offered an SDK with all the features we needed, including authentication and storage. The community was also a huge part of our decision to move forward with building on Blockstack. From the first conversations to just browsing the forum, the ethos of openness and kindness I found was exactly what I was looking for. The community taught me so much at the time, and still does every day.
After two years of maintaining Sigle as a side project, we saw a massive opportunity when Stacks released version 2.0 of the blockchain. We were going to be able to improve the platform thanks to Clarity and Stacks features.
As a creator, being at risk of getting your account or revenue cut by a government or platform is not acceptable. Stacks smart contracts would allow our users to monetize their content on chain, without relying on third parties, perfectly matching our goal of making Sigle 100% decentralized.
The decision was made: we would quit our jobs and work on Sigle full time. That’s when we entered the Stacks Accelerator, where our amazing mentors helped us clarify our ideas. Since then, the Sigle platform has evolved quite a lot.
We started as a simple decentralized blogging platform, where as a writer, you would write and own your content. And now? Sigle is an open-source writing platform for Web3 content creators that gives them a powerful editor, a great UI, and the tools they need to build their community, grow their brand, and make their Web3 stories come to life.
Rethinking User Authentication Through NFTs
In order to deliver on the promise of Sigle, we needed to rethink what the user authentication experience should be. How can we create value for our writers and offer customization while simultaneously maintaining decentralization and user privacy?
The solution we chose lay with NFTs. Last year, NFTs took the world by storm, and we saw potential in them, so much so that we became one of the first startups in the world to raise capital via an NFT mint. We believed that NFTs could deliver value on 3 fronts to Sigle:
- NFTs would provide utility for the writers on Sigle.
- NFTs would be a banner for our community to rally around.
- NFTs would serve as a fundraising mechanism for Sigle itself.
We worked towards that vision and launched The Explorer Guild in November 2021 representing the famous French writer Jules Vernes. A true adventurer ahead of his time, Jules Vernes inspired many French kids — including us—and so we used him as the basis for our NFT collection.
The collection of 3,000 NFTs sold out, and our community helped us make Sigle a reality by investing in us and buying our NFTs. In exchange, NFT holders get a free lifetime membership to Sigle premium services. You can read more about the full story here.
Our community helped us make Sigle a reality by investing in us and buying our NFTs. In exchange, NFT holders get a free lifetime membership to Sigle premium services.
We just released the first premium feature available to our NFT holders on July 12th in the form of detailed analytics for stories on Sigle. This feature will give creators more insight into how their content performs.
Looking further out, we also want content creators on Sigle to be able to use this NFT-gated feature for their audiences too. By that I mean, Sigle creators will be able to adjust their settings to only allow access to their content if their audience holds a particular NFT, in the same way that Sigle only makes certain features available to creators who hold one of our NFTs. For example, Megapont, the most popular NFT collection on Stacks, would be able to restrict access to specific posts so that only people holding Megapont NFTs could access their articles, if they wanted to create private content for their community.
So how do you build an NFT-gated feature? Let’s take a look at how we gated our detailed analytics services for holders of Explorer Guild NFTs.
Under the Hood: How the Code Works
With token gating, wallet signatures can replace oAuth, and instead of relying on central services (eg: log in with Facebook), your wallet is the service. Importantly, all of the data associated with the wallet is accessible too: assets owned, transactions, and more. In short, users own their identity, and app developers can build rules based on which assets a user owns.
Implementing the concept is simple: the wallet owner first needs to sign a message, and then this message will be sent and verified by the server to create a session. Then the server can check whether the wallet owner has the required assets to allow them to access a certain resource (or not).
As we are using Next.js with React for Sigle, we decided to implement the token gating feature with next-auth npm package. You can find a working example in this GitHub repository.
Let’s take a look at the code:
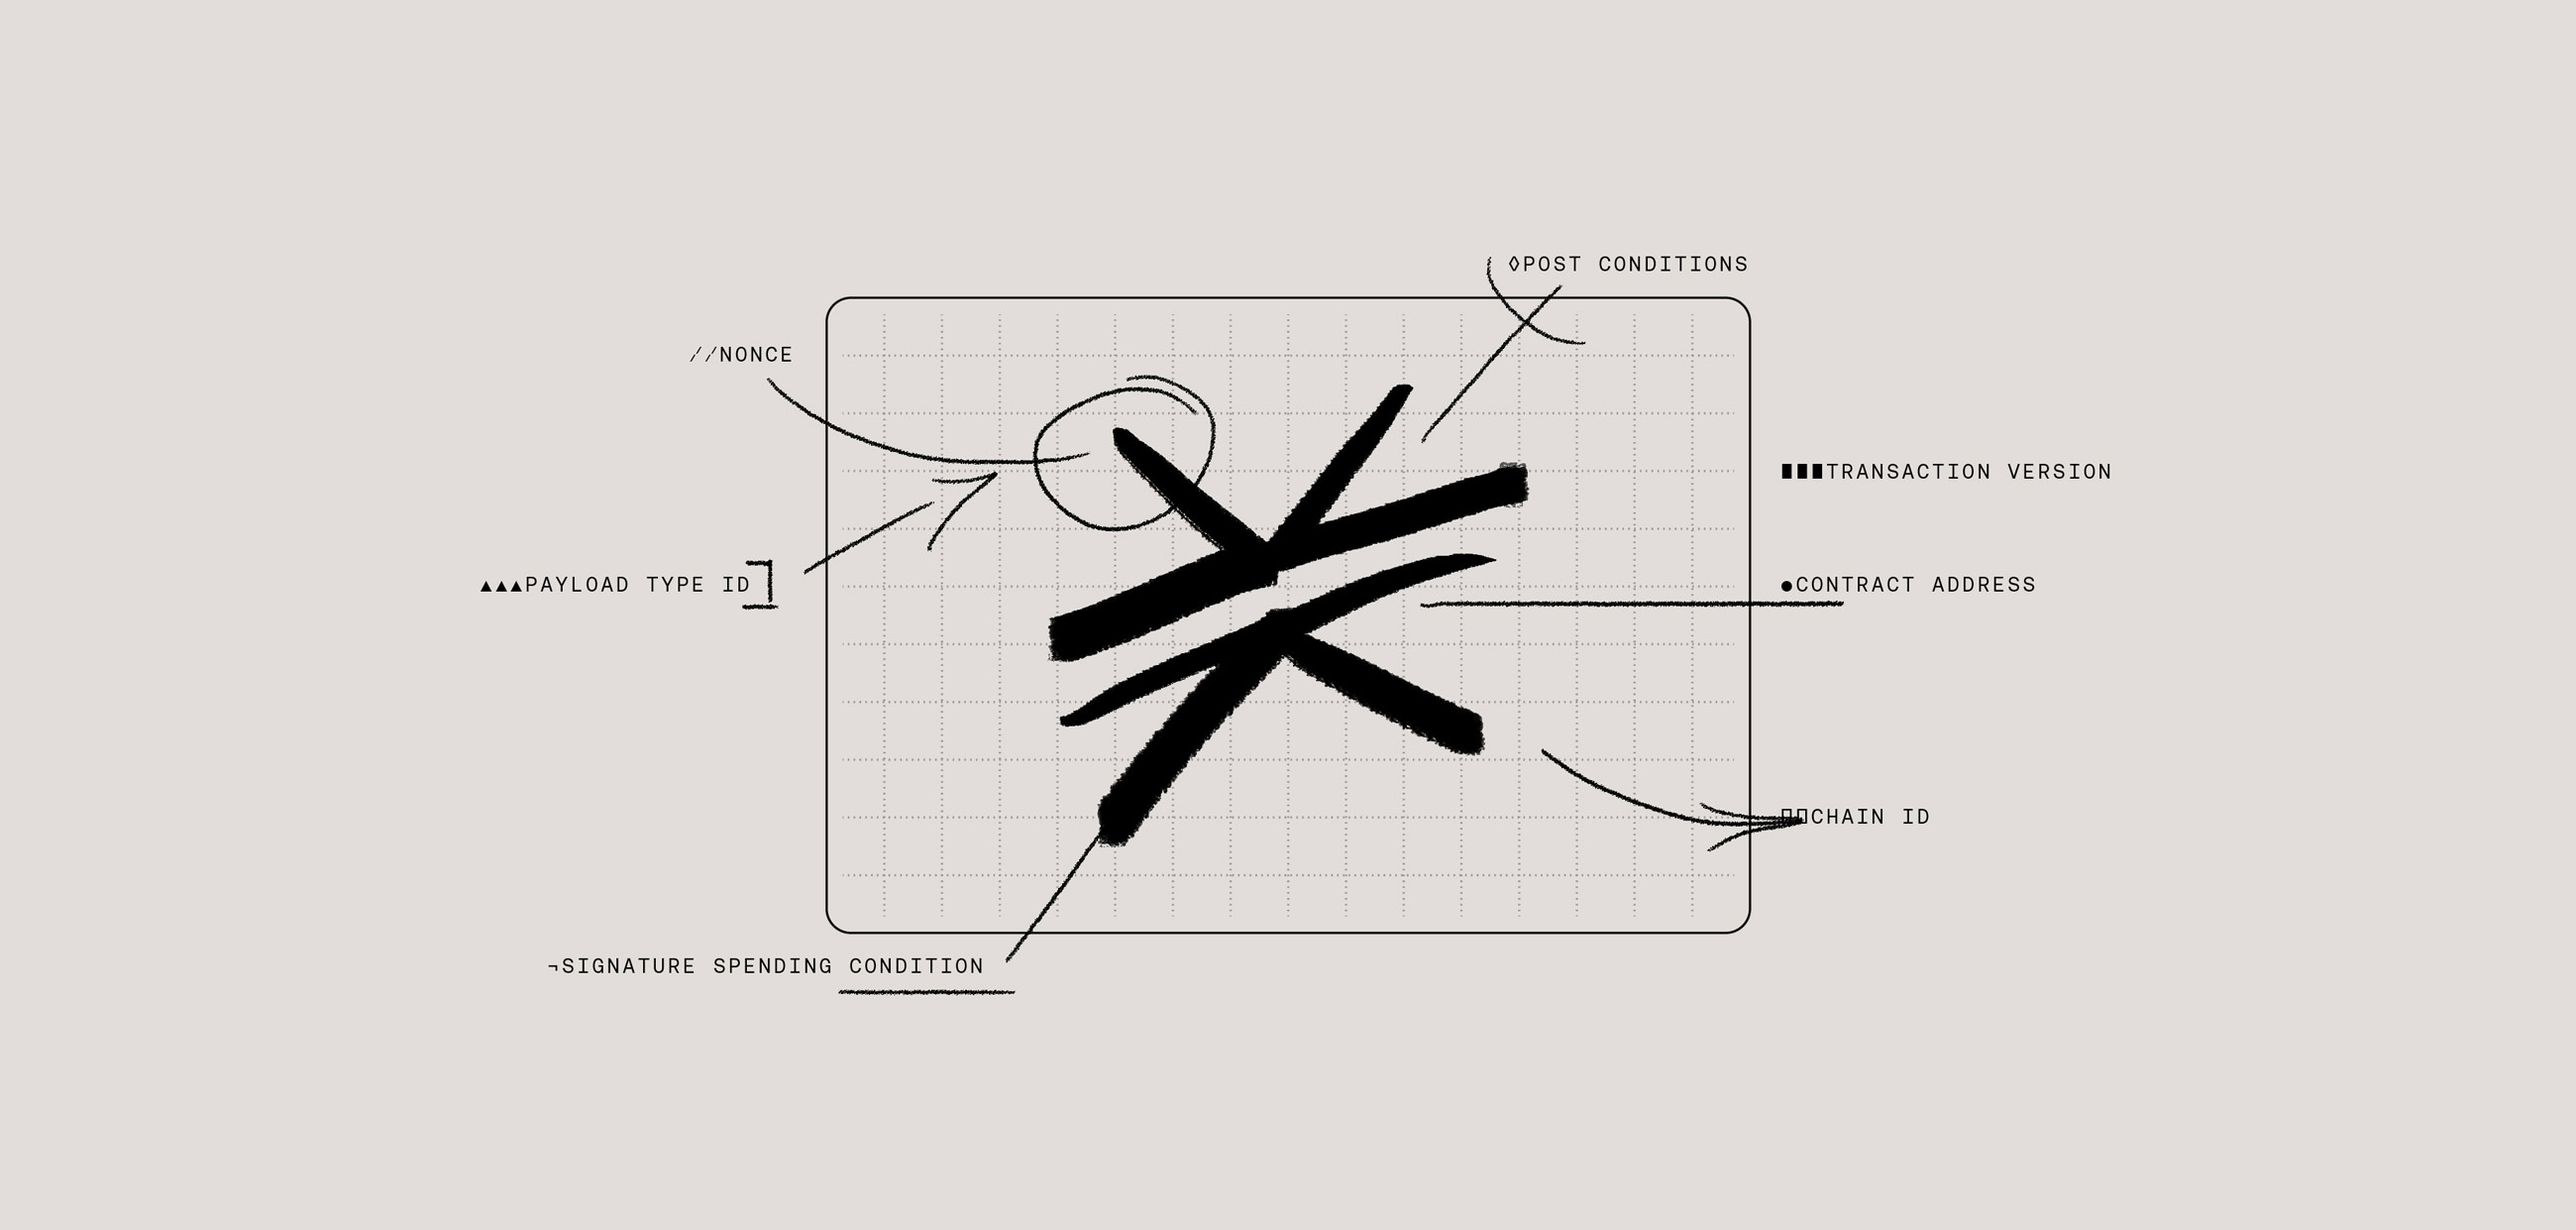
As you can see above, we are creating a message for the user to sign. When creating a new SignInWithStacksMessage object, we pass some information about the app and user as well as a nonce. The nonce is a random string unique to each user session. These parameters are used, so the same signature can’t be used on other apps for replay attacks.
The prepareMessage is used to create a string following the Sign-in with Stacks SIP proposal. We then call the Stacks connect sign function to trigger the wallet popup signature. Once the user signs the message, the onFinish hook will be called, and we can send a request to the server for the session creation. For this, we call the next-auth signIn function with the signed message, the server will then verify the validity of the signature and create the session if it’s correct.
To validate the session, we need to configure next-auth, in pages/api/[...nextauth].ts like this:
The next-auth provider is responsible for verifying that the arguments sent by the client are correct. Here, we receive the signature and message from the client. By calling siws.verify, we verify that the signature was created by the right account and has all the required properties, domain and nonce. If the check is successful, we return an object containing the address that will be saved in the session.
Now that the session is created, how do we protect our application from unauthorized users? As an example, let’s take a simple Next.js API route. Let’s take a look at the code:
In this code excerpt, we check that the user has a valid session and verify if the user has the required assets to access the resource. To get the session token, we need to call the next-auth getToken function that extracts and returns a JWT token (a JSON Web Token) containing the user information. If the user is not logged in, we can abort the request with a 401 unauthorized error.
If the user is authenticated, we get the user holdings by calling the getNftHoldings function. This function will query the Stacks API and list the NFTs held in that specific wallet. Now you can see if the user owns the required asset to continue the execution and access the resource behind the NFT gate.
If you’d like to dive deeper into the code, you can look at the example repo here.
Conclusion
That’s how we built token-gated features in Sigle! If you’re interested in learning more about Sigle, you can do so on our website or join us on Discord. We have a lot of exciting things in the pipeline, such as custom domains, newsletters and monetization!